
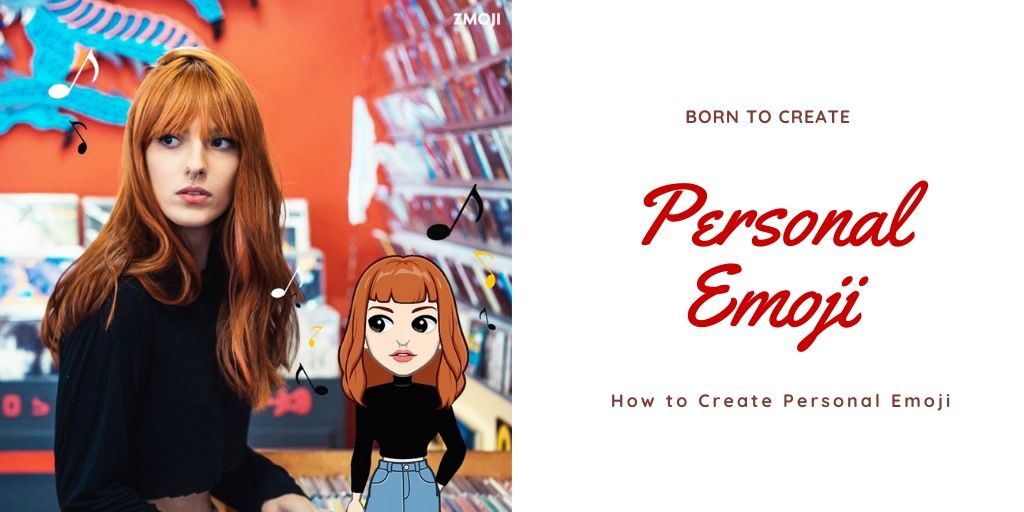
How to Create Your Own Emoji? Step by Step Guide
Emojis are widely used on social media and even in daily texting conversations. There might be a lot of personal emojis saved on your phone. However, did you know how to make your own emoji?
Amazing facts about personal emoji
- The first personal emoji was designed by a Japanese designer Shigetaka Kurita in 1999.
- Personal emoji wasn’t fully embraced by the masses until 2012, thanks to the release of the Apple iOS 6.
- The word emoji was added to Oxford Dictionaries in 2013.
- There are 3,019 personal emojis in the Unicode Standard in total as of March 2019.
- As of October 2019, the top three emoji are: ?Face With Tears of Joy, ❤️Red Heart, and ?Smiling Face With Heart-Eyes.
How to make your own emoji?
Ever since personal emojis got trendy, people start turning their selfies into personal face emojis. It has become so personal and creative. So, how to create personal emoji and where to make personal emoji? Luckily, personal emoji maker apps are designed to make creating emojis easy.
In this article, I will show you how to create personal emojis by Zmoji with 5 steps:
Step 1: Find An Emoji Maker App
There are several personal emoji maker apps to help you know how to make personal emoji on iPhone or Android. Zmoji is a personal emoji creator app that makes the avatar looks just like you. You can create personal emoji by facial recognition or manual creation. There are dozens of personal emojis for you to share with friends.
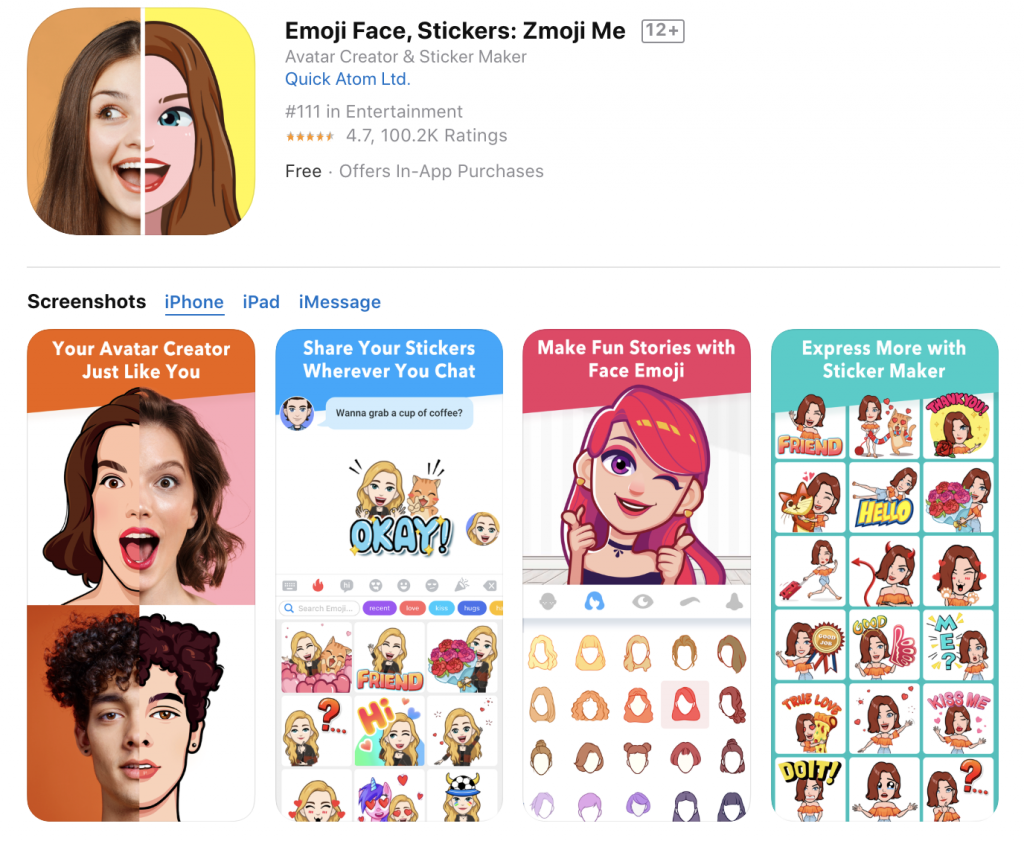
Zmoji app is both available on iOS and Android.
Download Zmoji:
iPhone: apple.co/31SGtFu, Android: bit.ly/34dMI8N).
You can also visit Zmoji Website for more information.
Step 2: Open the app and get started
Open Zmoji app and follow the lead.
Choose Gender -> Choose Avatar Style.
You can also learn how to use zmoji here.
Step 3: Create your own emoji
There are 2 ways of creating your personal emojis: Facial recognition and Manual creation.
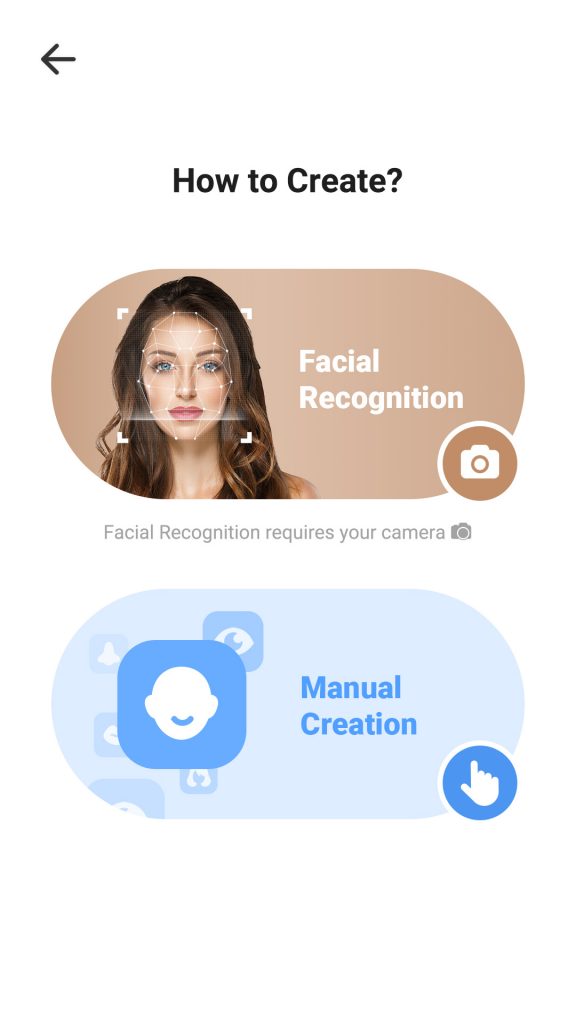
After you have chosen “Facial Recognition” function, take a selfie of yourself. Then, Zmoji app will automatically generate your cartoon avatar that looks similar with the selfie photo.
If you don’t want to try facial recognition, you can also choose “Manual Creation” function to create your customized avatar manually. From here, you have a lot of options to create your avatar. You can dress them in different glasses, hats and outfits, and create innumerable stickers with different postures, expressions, etc.
Step4: Save your work
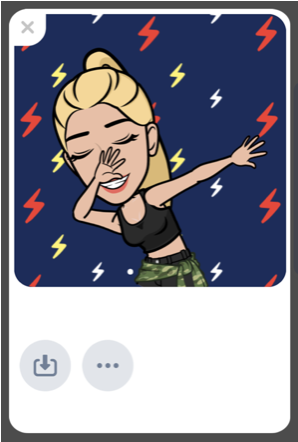
Once you’ve got the cartoon avatar looking the way you want it to, went to “Avatar Gallery”, click “share” button then you can save your cartoon avatar. You can use them in any text message, chat or status update.
Step 5: Share your personal emojis
After creating an avatar from a photo, you’ll see tons of personal avatar emojis, gifs and stickers for you to choose from. It’s time for you to express yourself with your personal emojis.
You can read this article to learn Where Can Zmoji Be Used?
Using the Zmoji keyboard will make the sharing so much easy. Send your special personal emoji to anyone in any app.

For more details, please read How to use Zmoji?
Love to see this every day !